
Author: Clare Stone
It is not uncommon for multiple model developers to want to work on the same project. Changes made by each developer need to be added in to a central codebase to ensure there is always one source of the truth. Another common requirement is to be able to carry out code reviews, to check how one version of a model differs from the previous version, or to peer review an individual’s model developments.
The management of change is controlled by source control platforms. Mo.net provides integration with a range of industry standard on-prem and cloud-based platforms, including, but not limited to Azure DevOps, GitHub, Bitbucket.
In this article we will walk you through how to develop models collaboratively in Mo.net using GitHub as the source control solution.
Before starting, you will need to have a GitHub account and obtain your Personal Access Token details.
To set up your connection to source control within Model Development Studio you need to navigate to the Source Control area within Options. Select GitHub as your Connector and enter your Personal Access Token details in the Security page.
Next, check you are happy with the path suggested for the repository or change if required. You also need to enter the path of the git.exe file and a path for a merge tool to use e.g. kdiff3, in the Tools page. Once you have done this and clicked OK you will need to restart Model Development Studio to pick up the changes.

You should now have a Source Control page visible in the backstage view..
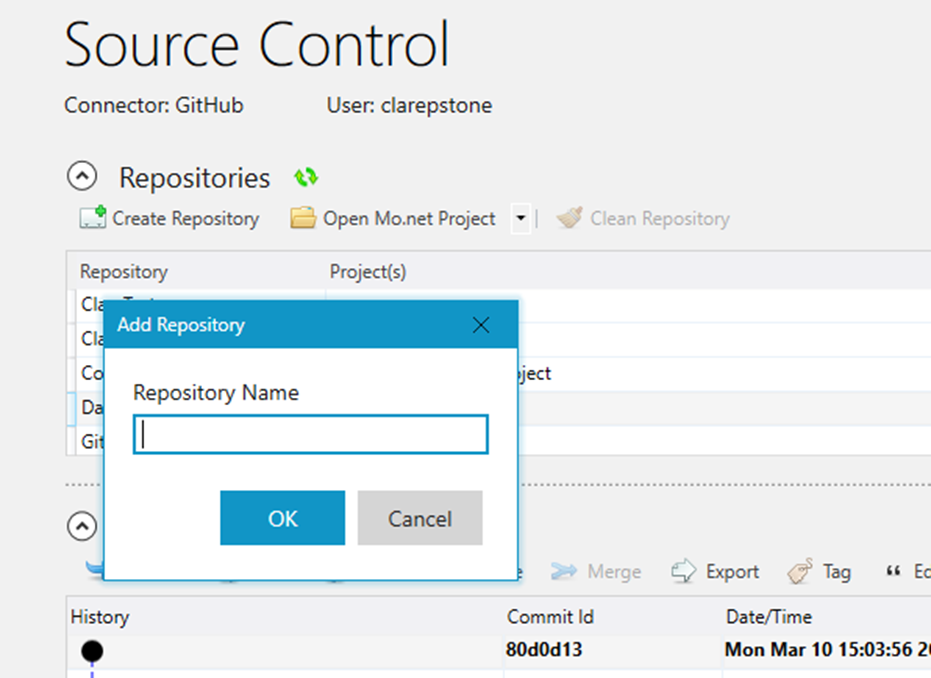
To put a project under source control you first need a repository for the project to be saved into both locally and centrally. To create a repository, select Create Repository in the Source Control page in Model Development Studio, and give your repository a name.
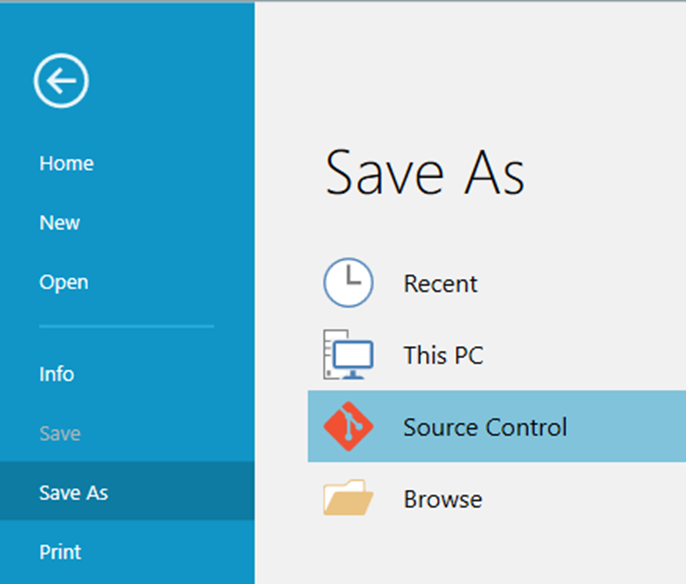
In the Save As page, save the project to source control. This will save the project to the source control working directory.
Back in the Source Control page select the repository you created and select Commit and add a description of the change. This will stage the project just saved to the working directory.

For others to be able to see any changes you need to push the changes centrally to your GitHub repository. To do this click Push. You should then be able to see the commit details within the GitHub repository.
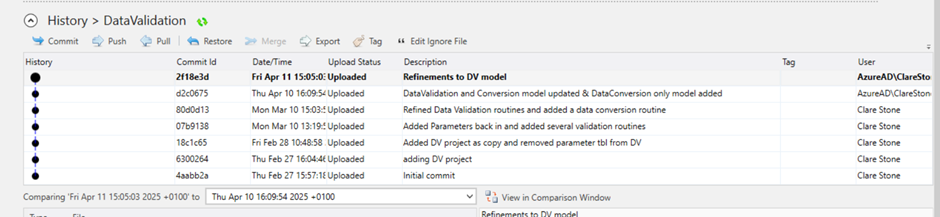
You can continue working this way, making changes, creating local commits and then pushing your commits centrally. This builds up a history of your changes which can be seen both from the Source Control page in Model Development Studio and the repository in GitHub.
This is what the history of changes looks like from Model Development Studio:
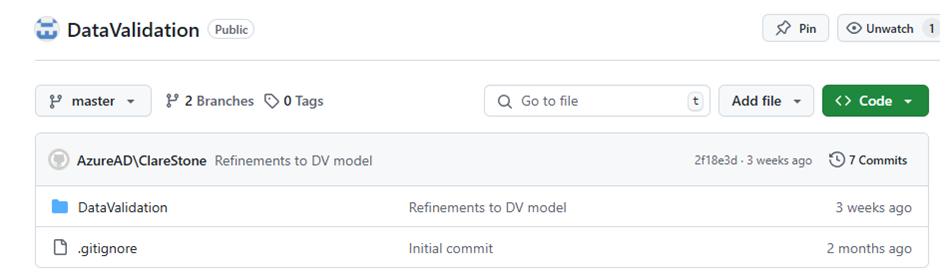
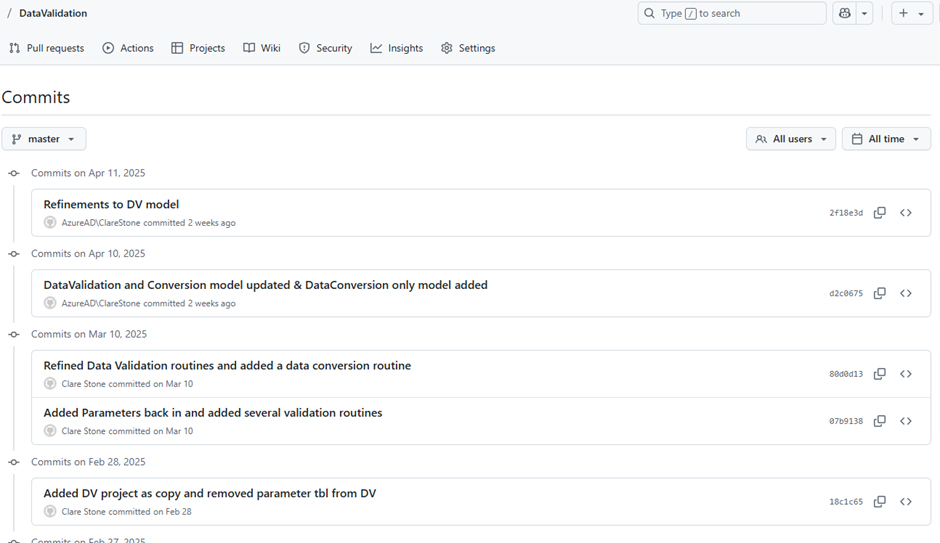
This is the equivalent view in GitHub;
To enable someone else to work on the project you need to give them direct access to the repository within GitHub. This works differently across different source control platforms but in GitHub you manage this within Collaborators in the Access section and invite people to collaborate with you on a particular repository.
If someone else is working on the same project at the same time and they have committed changes more recently than you then you will need to pull their changes down and merge them with yours being careful to select the correct items so you do not overwrite any of their changes. You should then be able to push your changes.
It is really important that the team are all aware what others are working on and that there is good communication between the team members.
If you have committed a change but subsequently wish to revert to an earlier version without that change then you can select the row with the commit that you want to use and click restore. The changes you had made will be rolled back to the previous version.
To see the changes between two sequential commits use the View in Comparison Window functionality.
Comments are closed.